Making a keyboard silent
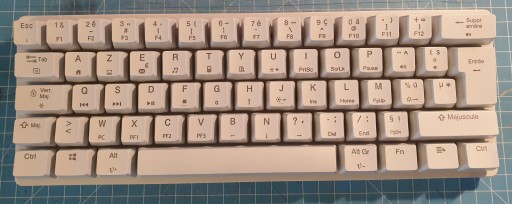
In 2013, I fell in love with 60% keyboards through the Vortex Pok3r. Back in 2021, I bought a Stoga MK22 keyboard for work. Although way cheaper, it still rocks an aluminium-body, RGB lighting and brown switches from LC. The latter are of interest here; appreciable tactile feedback, but a characteristic noise that make them unfit for a sensible workplace.
How does a switch work?
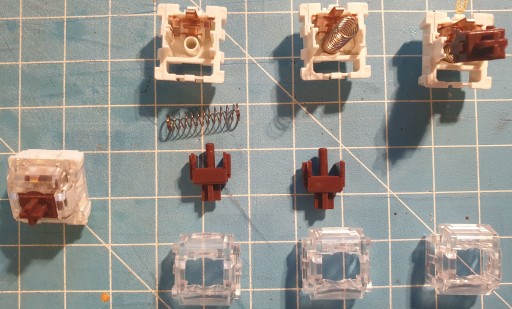
In short, a switch is made of a top housing (what you see when you remove the key cap), a stem (the coloured moving part), leaves (the electrical contacts), a spring, and a bottom housing.
When you press on a key cap, the stem is pushed down, allowing the leaves to come in contact, and is pushed back up by the spring.
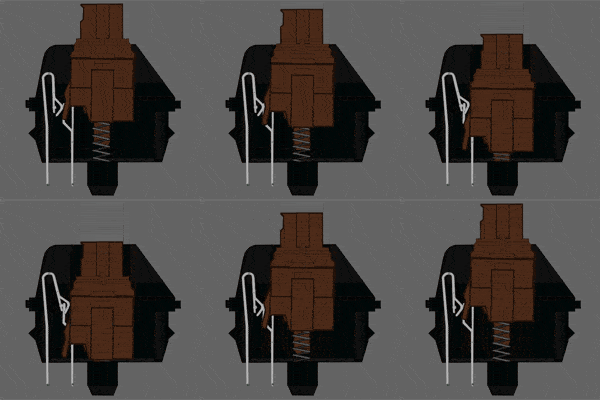
Depending on the type of switch, the actuation force, noise and tactile feedback (the bump in the stem that lets the user acknowledge the switch) can vary. This blog post from Goat is excellent if you want a deeper dive into how switches work.
The mission: Silence the switches
A keyboard can be loud because of several factors.
- The desk underneath can amplify the sounds. Using a desk mat is usually a good idea to muffle them.
- The casing can act as a sounding board.
- The switch itself makes noise as the stem hits the housing.
Step one: The casing
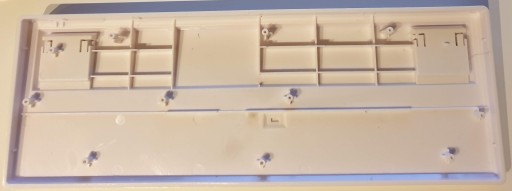
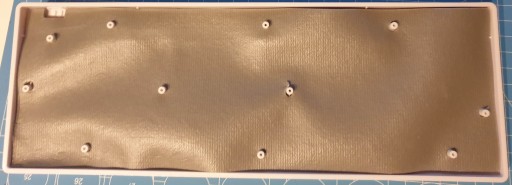
Just fill it with something that could absorb the sound. All I had lying around was some non-slip mat that had to do the job. The before-after difference was barely noticeable.
Step two: The switch
The switch makes noise mainly when the stem hits the bottom housing that the end of its travel downward, and when it hits the top housing when the user releases the key. If you listen very closely, the spring itself makes a faint noise, but it should not be audible in any standard environment.
Now, both of those sounds can be avoided: if you press very gently on the key, it will not come crashing down. Likewise, if you accompany the key in its travel upward, you can avoid most of the noise as well. It’s doable, but makes no sense if you want to use the keyboard as a normal person and have any productivity at all.
A common solution is to use o-rings around the stem of the key cap. Contrarily to popular belief, it does not reduce the key noise by cushioning the key cap slamming on the top housing, it’s meant to reduce the travel length of the step so that it does not hit the bottom housing while still activating the switch. This is a quick-win that might yield some good results, but the main downside is the significant mushiness of the new feeling. Moreover, the upward noise is still present.
To alleviate the end-travel noise when coming back up, a relatively easy, if cumbersome, solution is to insert some damping material (e.g. paper tissue) inside the top housing rail. All that is needed is to remove the key cap and use tweezers to jam the pellet in there. The main downsides are that the material does not stay in place, it will somewhat move with the stem and might get eject at some point. Moreover the padding is not constant since you probably would not spend time calibrating each pellet. This leads to a variation in the travel length and might prevent some keys registering.
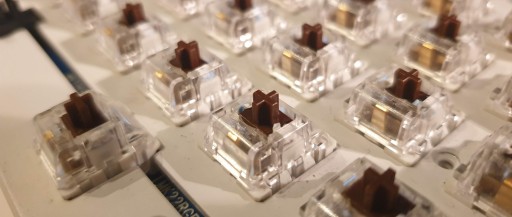
There exist standard switches that are somewhat silent, e.g. Alpaca Silent, that have some sort of foam around the rails to cushion the stem during its travel.
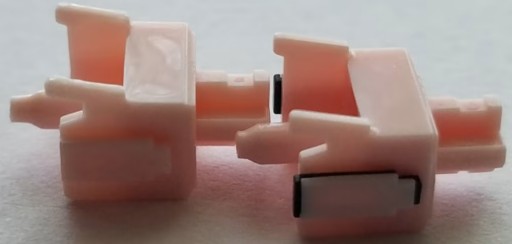
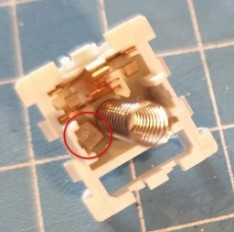
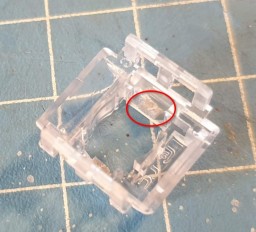
We can achieve a similar result by inserting our own damping inside the casing. It’s easier than modifying the stem as it would impede its travel. The significant downside of this manipulation is that it requires to open each individual switch to glue the material in, for which we first need to unsolder the whole board. The material can again be some non-slip mat cut into tiny pieces of roughly the same size. It has the advantage to limit the glue capillarity into the material, so that it remains soft after the glue has dried up. Tissue, paper or string absorbs the glue and dries along with it, defeating the damping purpose.
Step three: The stabilisers
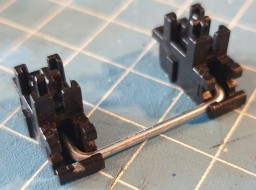
Stabilisers are installed beneath large keys to avoid wobbling. They serve no electronic purpose, only mechanical stabilisation. They are composed of a symmetrical pair of stems within housings, coupled with a metallic rod. Their noise comes mainly from said rod hitting the housing on two spots. Once again, it can be muffled by gluing some mat on those two spots. The result is less effective that on regular switches, but that’ll do.

TLDR
- Unsolder all switches.
- Open the housing.
- Glue some padding material (non-slip mat) at the end of the top housing rail.
- Place some padding material in the bottom housing rail.
- Same for stabilisers.
- Assemble back, ditch the useless o-rings.
Hereunder follow a few videos about the padding insertion, raw and muffled switch sound comparison and full keyboard sound test.